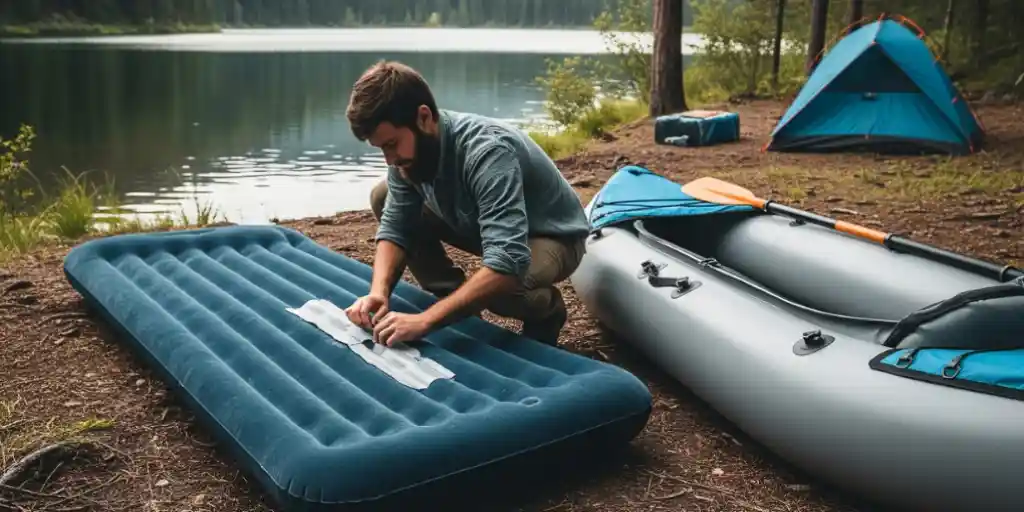
Woke up on a deflated air mattress? Noticed your inflatable boat sinking slowly? Don’t panic—or rush to the store. You can fix most air leaks with everyday items at home or in your backpack. Whether you're camping, rafting, or just having guests over, a small hole doesn’t have to ruin your day.
In this blog, we’ll reveal the most common air leak issues in inflatable gear and share smart, tested ways to patch them using what you already own. No fancy kits needed—just a little creativity and the right steps.
🔍 What Causes Leaks in Air Mattresses & Boats?
Inflatable gear is prone to damage from:
-
Rough ground or sharp rocks
-
Over-inflation or poor storage
-
Sun exposure weakening the material
-
Abrasion during transport or use
Most leaks are small, slow, and totally fixable without tools.
💡 Why Use Household Items Instead of Repair Kits?
Repair kits work, but:
-
They’re often lost, expired, or missing glue
-
You may not have them when disaster strikes
-
Simple items like tape, soap, and cloth can work just as well
So yes—you can fix it fast and cheap with what’s already around.
✈️ Common Leak Scenarios and Easy Fixes
| Leak Scenario | Typical Cause | Everyday Fix Option |
| Air mattress deflates overnight | Puncture on floor or seam | Duct tape + plastic patch |
| Inflatable boat loses pressure | Small valve or seam crack | Waterproof glue + cloth |
| Leak during outdoor trip | Sharp ground or heat stress | Superglue + wrapper/plastic combo |
| No repair kit while traveling | Forgot or lost patch supplies | Soap bubble test + DIY patch |
🛡️ Top DIY Tricks to Fix Inflatable Leaks Without a Kit
Here are smart tricks campers, backpackers, and DIY lovers use to save the day—without buying anything new.
1. ✅ Find the Leak with the Soapy Water Test
Why it matters: You can’t fix what you can’t see.
DIY Trick:
-
Mix water + a few drops of dish soap.
-
Spray or sponge it over the inflated surface.
-
Watch for bubbles to locate the leak.
2. 🩹 Patch with Duct Tape + Plastic or Cling Wrap
The trap: Duct tape alone won’t seal long-term.
Why it’s risky:
-
Air can still escape through edges.
Fix It Hack:
-
Use a smooth plastic wrapper (e.g., chip bag, zip bag, shower curtain scrap)
-
Layer duct tape over the plastic, pressing out all air.
-
Seal edges tightly and let sit for 30 mins.
3. 🧴 Use Superglue + Fabric for Quick Seal
Problem: You’re outdoors, and duct tape won’t hold under pressure or water.
Why it works:
-
Superglue hardens quickly and bonds tight.
Fix It Trick:
-
Clean the area, add a drop of glue, press cloth/fabric over it.
-
Hold for 1–2 minutes and let cure before re-inflating.
4. 🛶 For Boats: Layer Electrical Tape + Heat (Optional)
Why it matters: Inflatable boats often need a stronger seal.
Boat Fix Hack:
-
Wrap electrical tape over the leak in 2–3 layers.
-
Use a hairdryer or hot sun to slightly warm it—improves adhesion.
-
Avoid sailing until tape is fully cured.
5. 🧼 Temporary Plug for Valve Leaks
Problem: Some leaks aren’t holes—they're faulty valves.
Why it’s tricky:
-
Air escapes even when valve is closed.
Quick Fix:
-
Wrap a rubber band or cling wrap tightly around the valve base.
-
Or wedge a cotton ball inside the cap as a soft plug.
6. 🛏️ Reinforce Seam Leaks with Nail Polish or Liquid Bandage
Why it works: Seams are flexible and tricky to tape.
Fix It Hack:
-
Apply clear nail polish or liquid bandage directly over the leak.
-
Let dry for 20–30 mins and repeat for stronger seal.
-
Use a paper patch if needed over it.
💳 Everyday Items That Can Replace Repair Kits
| Household Item | Replaces | Best For |
| Duct tape + plastic bag | Vinyl patch kit | Air mattress or tent pad holes |
| Superglue + cloth | PVC glue patch combo | Inflatable boat or toy fixes |
| Nail polish | Seam sealer or sealant | Tiny seam leaks on soft gear |
| Cling wrap + elastic | Valve sealing tape | Emergency valve plug |
| Soap + sponge | Leak detection kit | Bubble test without pump |
🔍 Real User Example
“We were camping in Yosemite and our air bed deflated on night two. No patch kit—but duct tape + chip bag saved the trip. It held all week!” – Jason, Weekend Camper
🧠 Pro Tips to Remember
-
Inflate fully before patching to locate leak easier
-
Always clean + dry area before applying any patch
-
Layer your DIY patch to reinforce durability
-
Let glue/tape set for at least 30 minutes before using
-
Test indoors before using in water or outdoors again
💬 Final Thoughts: Patch It, Don’t Trash It
Whether you’re on the water or in the woods, a small leak doesn’t mean the end of the trip. With common items and a little know-how, you can stay afloat—and off the cold floor.
✅ Don’t just fix—fix smart.
✅ Don’t just camp—camp prepared.
✅ Don’t just repair—repair with what you’ve got.
Inflatables are fragile, but you’re resourceful.
📌 FAQs About Inflatable Repairs Without Kits
Q1. Will duct tape really hold an air mattress?
Yes—especially with plastic or cloth underlay for strength.
Q2. Can I fix a boat without proper marine glue?
Temporarily, yes. But use real marine patches for long-term repairs.
Q3. How do I know if the patch worked?
Reinflate fully, then test under slight pressure (sit or gently press).
Q4. Is superglue safe for PVC or rubber?
Yes—for emergency use. Always apply to clean, dry surfaces only.